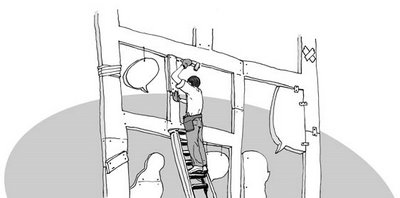
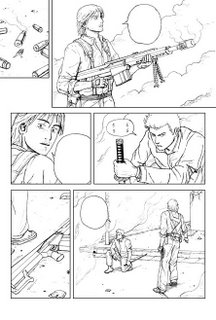
 [click the pictures to view a larger version]
Constructing the comic
One can plan till the cows come home and yet have nothing to show if it isn’t executed. So with the storyboard and pages of dialogue in hand, I begin the labor-intensive process of putting it all together and finally have an actual comic to show my friends. Wait, I don’t have any. Oops, now you know the real reason I make comics…
Paper type and page size
 I use standard A4 paper (a format that’s only a little longer than Letter in the U.S.A) for my comics. The only thing that I am particular about is the whiteness of the paper; the whiter it is the better it’ll be for scanning the artwork on it which I will touch on later.
I prepare my pages for penciling by drawing the border for the comic’s ‘live’ image area, the area that contains all the panels on a page. Most professional comic artists create their pages at double the size of the actual printed pages so that when it is reduced to that size, the images look crisper and sharper. However due to the limited size of A4 paper I make mine at only 1.7 times with dimensions of 7.7 inches wide and 11.4 inches high. It’s 170% of the page size of volume (Tankoban) manga books. So why do I use A4 paper and not bigger and better quality formats like Bristol boards you ask? Because it’s cheap.
Penciling
 I pencil exactly like I sketch, all hairy and messy, so it’s no surprise that the eraser is my best friend. The pencil types I use are 2H wooden pencils since they are light enough to not leave too much lead traces after erasing. I don’t like using mechanical ones for no apparent reason. As for erasers I prefer the soft rectangular kind and any make will do.
Using the storyboard as a rough blueprint, I first outline the borders of all the panels for the page I’m currently working on before I begin penciling in the appropriate scenes. References are once again a big help in this department because I’m still pretty bad at drawing anything. Thanks to the Web, I search for images as reference photos of buildings and objects for the backgrounds. When I have difficulty in drawing human-forms, let’s say a pose of a character, I’ll sketch out different versions of the pose on a rough piece of paper until I get to one that I am happy enough to use. Obviously the whole penciling process is repeated for every page until they are all done.
Inking
 Having completed the penciling of every page of the comic, it’s time to ink them. Even though inking is a fairly easy process of tracing over the pencil lines I still make mistakes like drawing the lines too thick or smudging the ink due to my being left-handed. I don’t use whiteout or white paint to correct those mistakes, I’ll leave them as they are and fix them later on the computer.
I use technical pens for inking, with tip sizes of 0.1cm to 0.2cm. The ones I’m using right now are called Unipin with pigment ink by Mitsubishi Pencil Co. which I can find in most stationery stores. I’ll probably get me some Sakura Pigma Micron pens in the near future to try since I’ve heard so much about them.
Once the inking for a page is done, the pencil lines are removed with my trusty eraser while taking a whole lot of care to not tear holes into the paper or start a fire by my overzealous rubbing.
Read the next part:
How I'm learning to make comics: part 4
Read the previous parts:
How I'm learning to make comics: part 1
How I'm learning to make comics: part 2


2 comments:
Great posts. Please do continue this walkthrough. It's really helpful to see how other manga-ka develop their work.
-Kaz
Thanks Kaz, I should be concluding this walktrough with the final part hopefully before the end of this month.
Post a Comment